Preparing Your Home for Solar Installation: A Step-by-Step Guide


Understanding the Basics of Solar Installation
Switching to solar energy is not only a great way to reduce your carbon footprint but also a smart investment for your home. Before diving into the installation process, it's crucial to understand the basics of what solar installation entails. This knowledge will help you make informed decisions and work effectively with your solar provider.
Solar panels convert sunlight into electricity, which can power your home, reduce your energy bills, and even earn you credits from the utility company. The installation involves several steps, from assessing your energy needs to mounting the panels on your roof.
Assessing Your Home’s Suitability
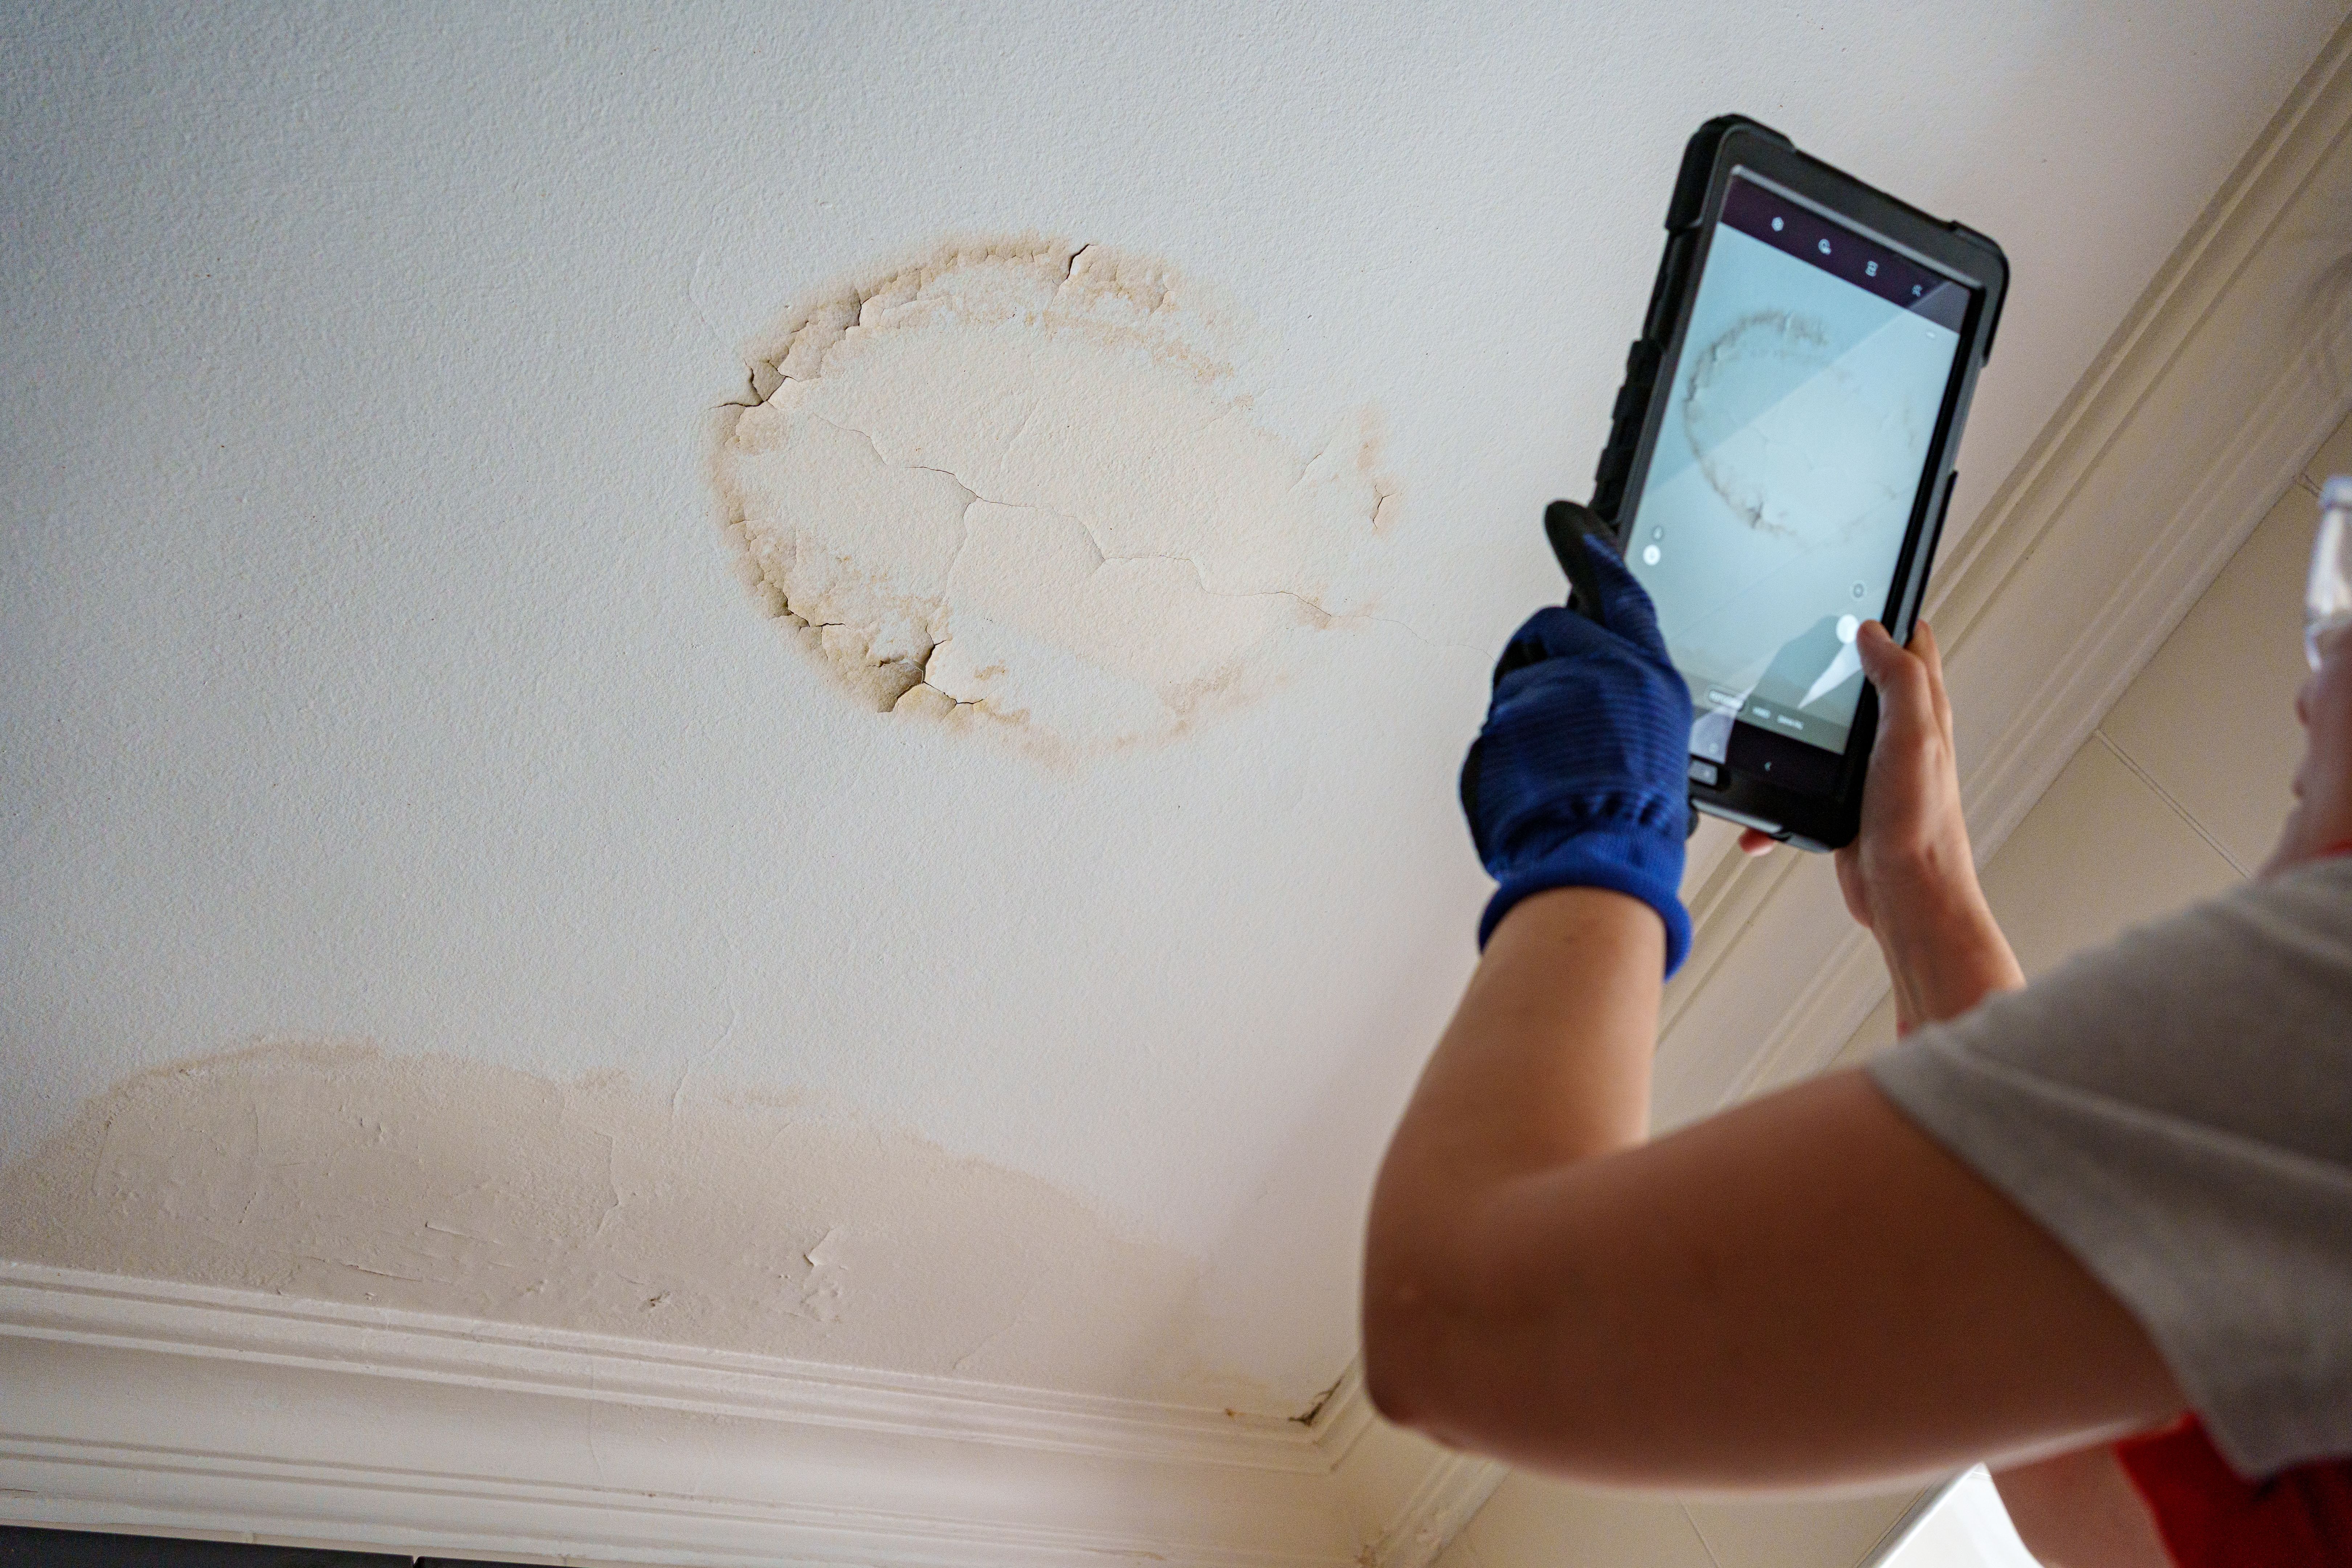
Before installing solar panels, assess if your home is suitable for solar energy. Factors such as roof condition, direction, and shading play a significant role. Ideally, your roof should have a south-facing orientation with minimal shading from trees or other structures. A well-maintained roof can support the weight of the panels and withstand the installation process.
Additionally, check local regulations and restrictions. Some areas have zoning laws or homeowners' associations that may affect solar panel installation. Consulting with a professional can provide clarity and ensure you comply with all local requirements.
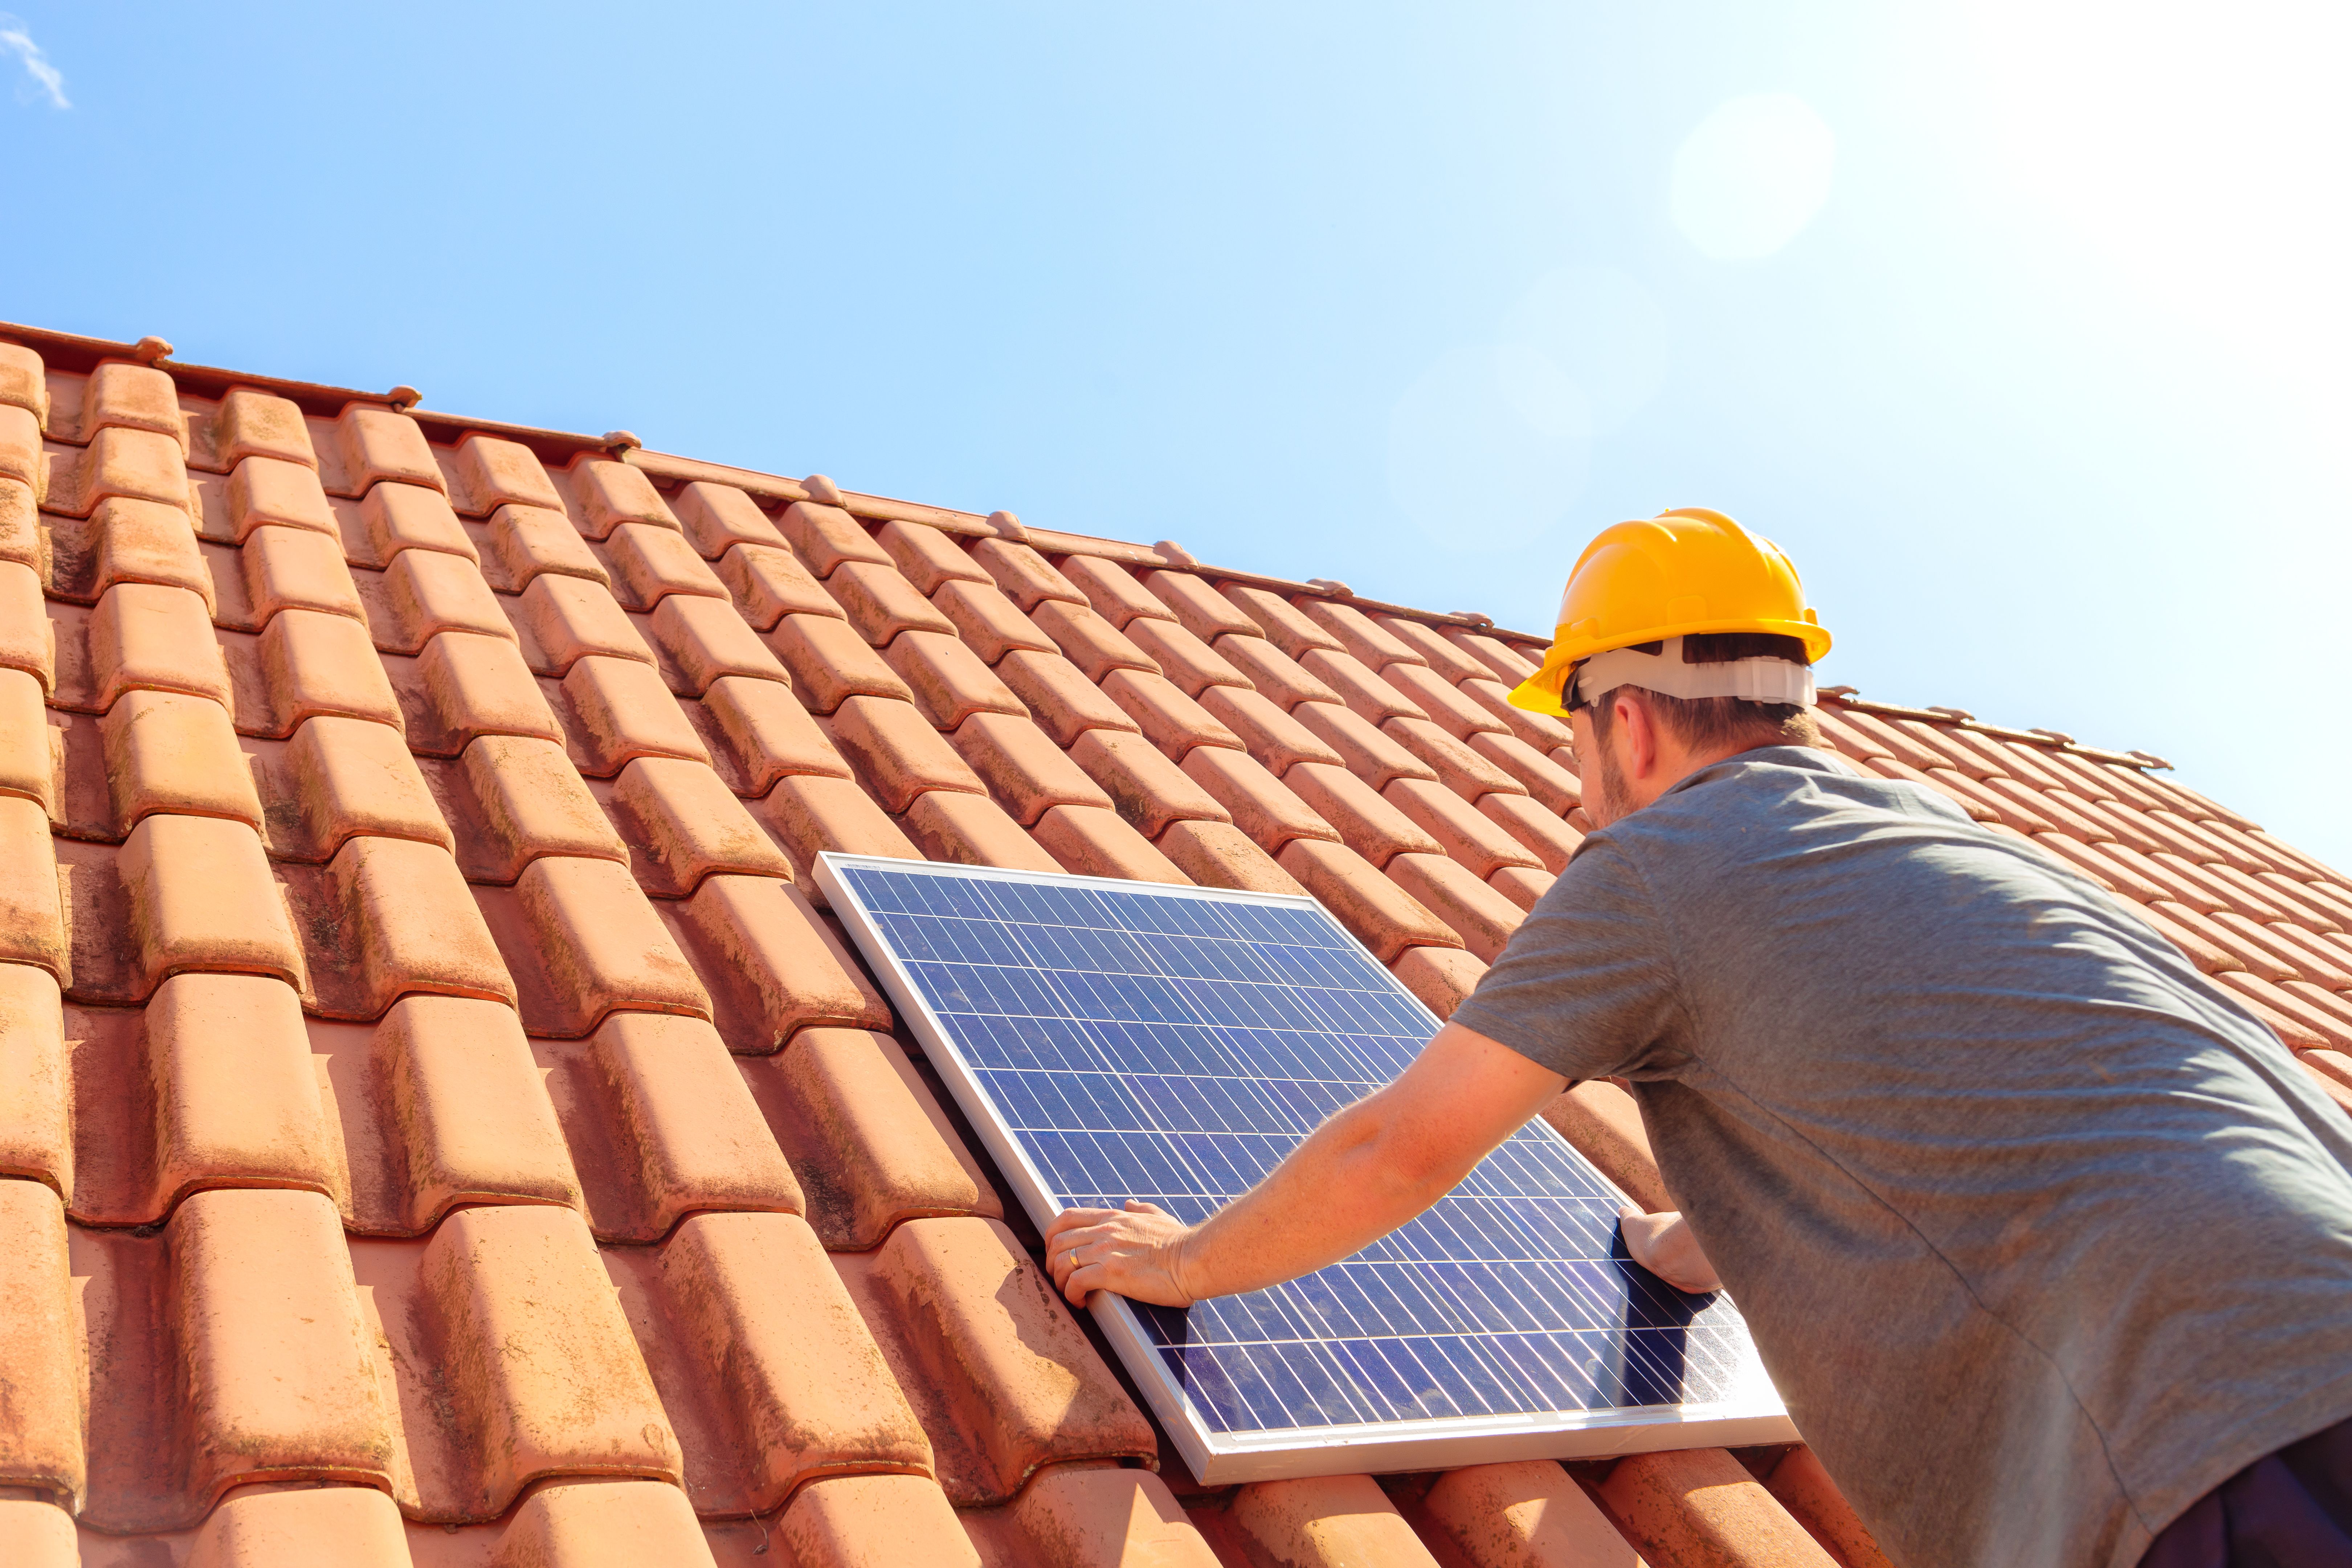
Preparing Your Home for Installation
Once you’ve determined your home is suitable, the next step is preparation. This involves ensuring your roof is in good condition and clearing any obstacles. If your roof needs repairs, it’s best to complete these before installing solar panels. This will prevent the need to dismantle and reinstall panels later.
Clear your attic and roof of any debris or unnecessary items. This makes the installation process smoother and ensures technicians have easy access. Also, trim any overhanging trees that might cast shadows on your panels.
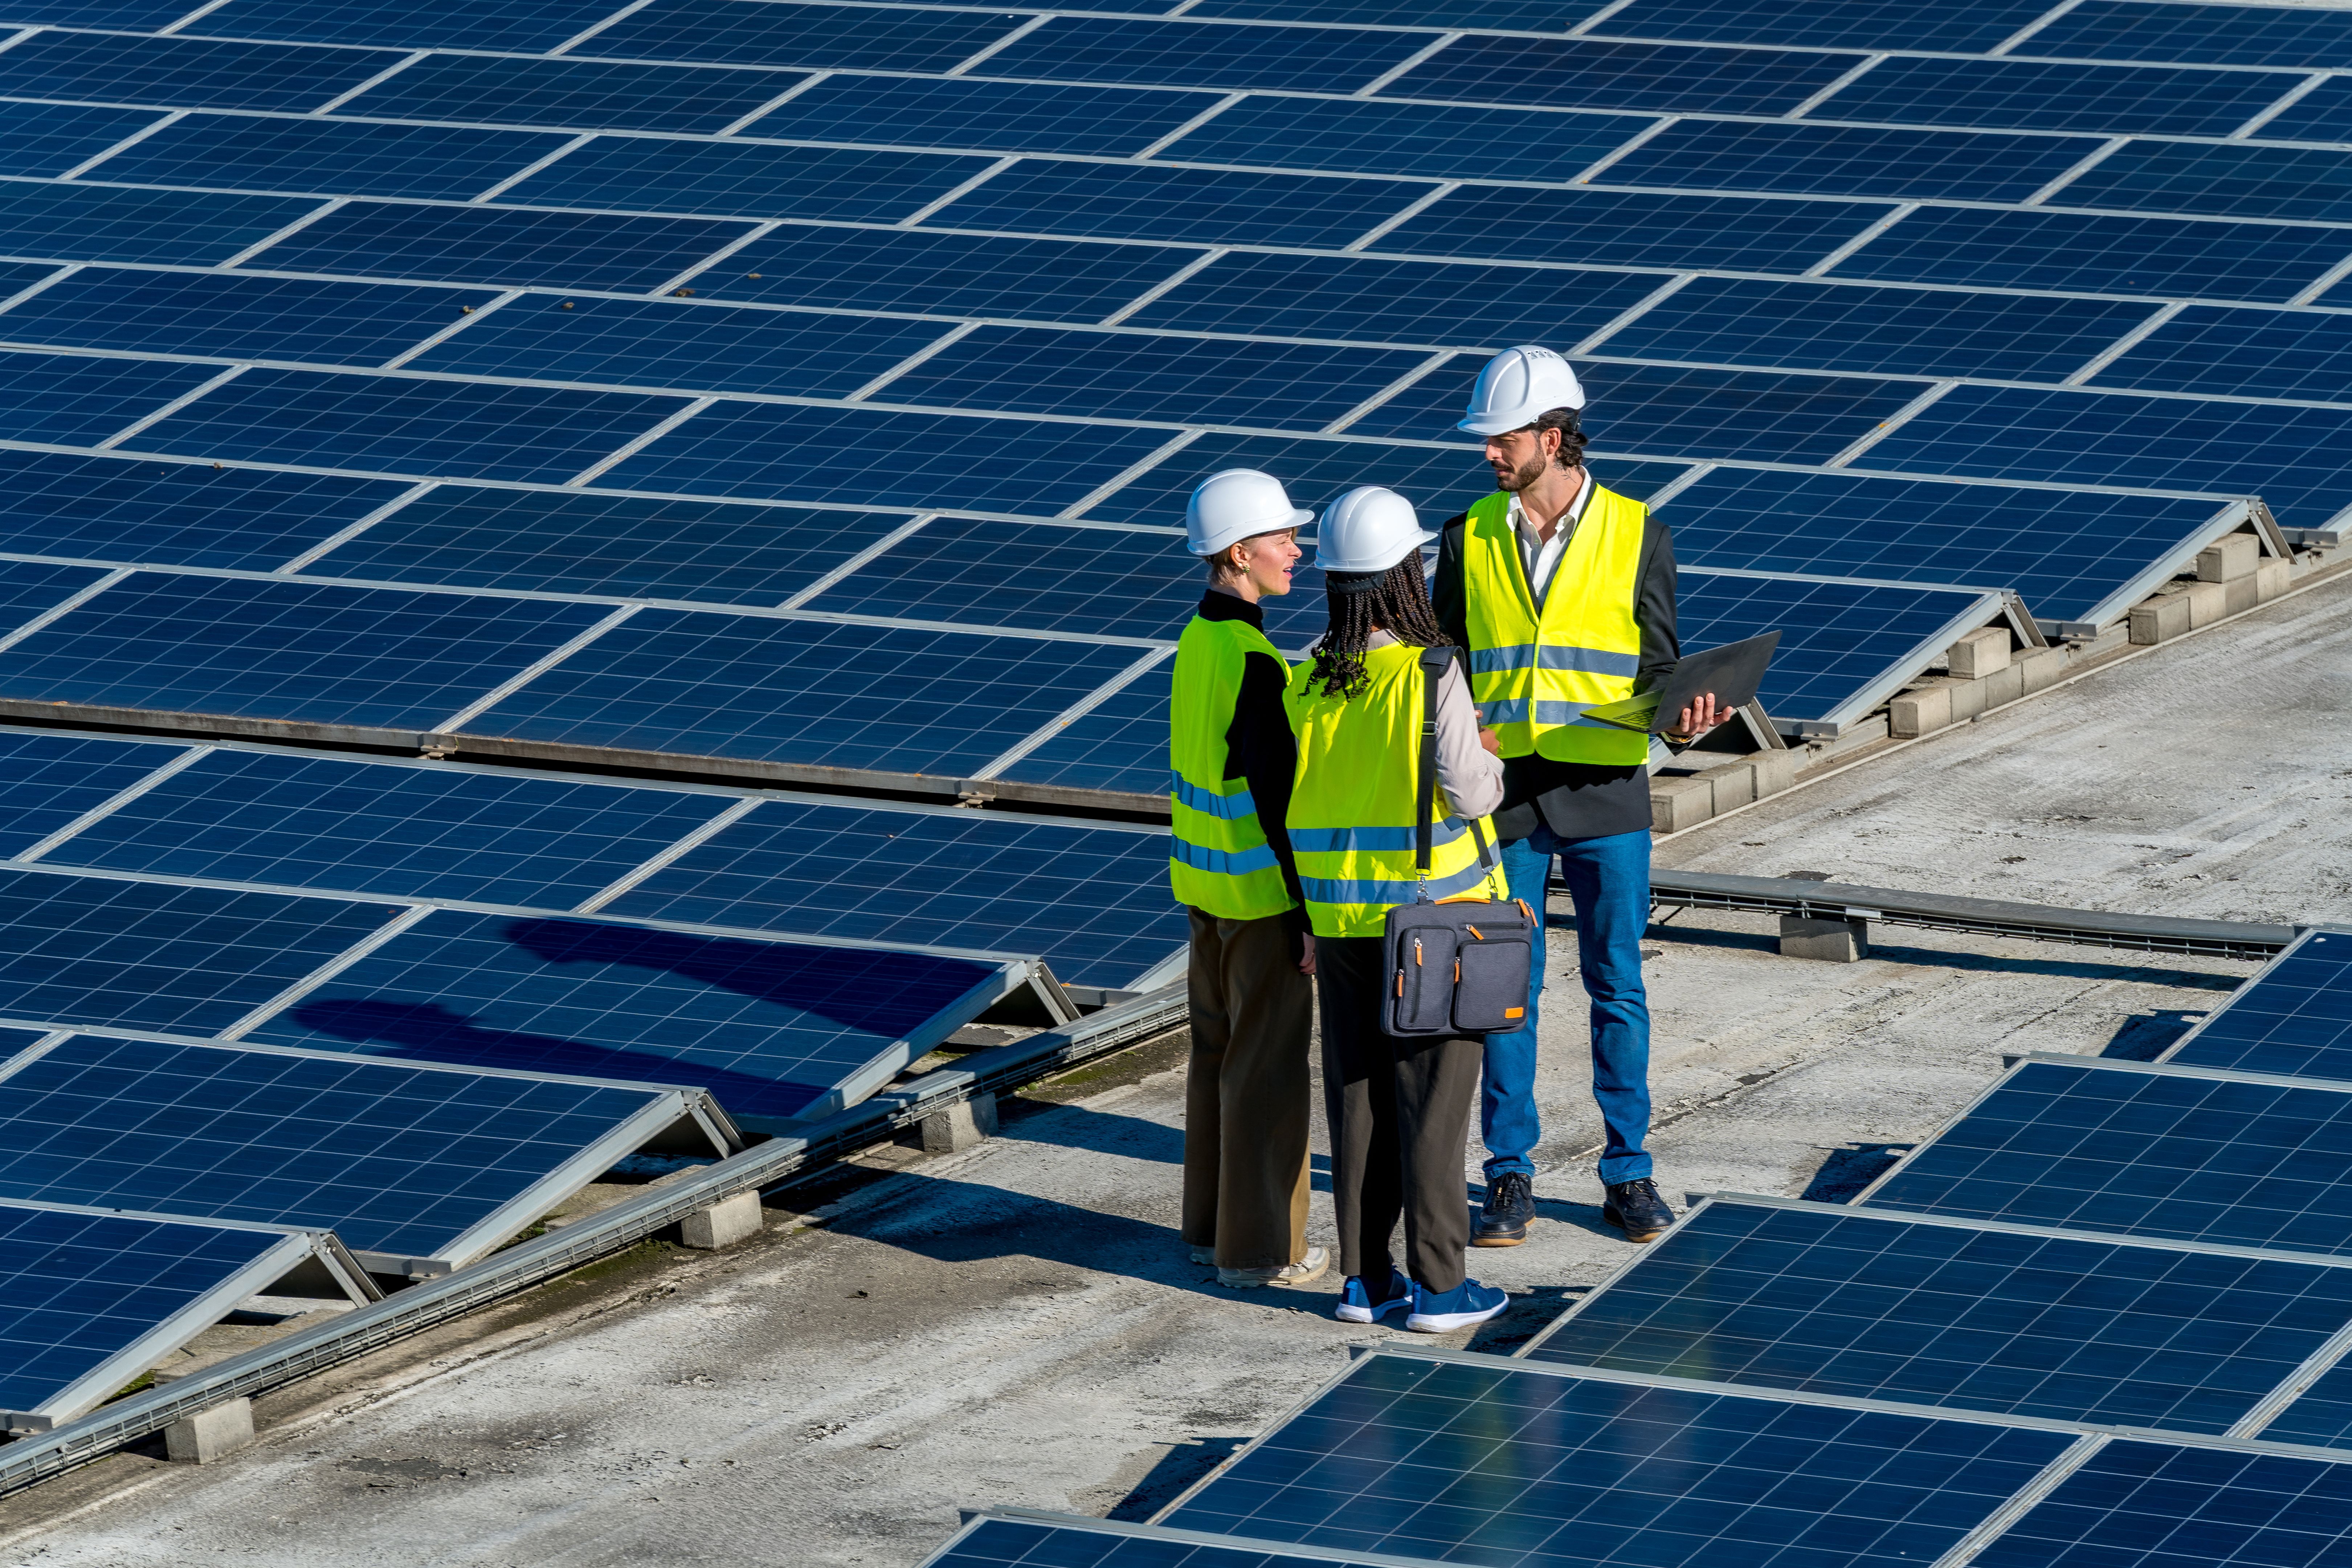
Choosing the Right Solar Provider
Choosing the right solar provider is a critical step in the installation process. Look for companies with positive reviews, solid warranties, and a proven track record. Get multiple quotes and compare them to ensure you’re getting the best value for your investment.
Consider the types of panels offered, installation timelines, and customer service. A reputable provider will guide you through the process, from obtaining permits to completing the final installation.
Installation Day Preparation
On installation day, ensure your home is ready for the solar technicians. Keep pets and children away from work areas for safety. Provide clear access to your roof and electrical panel, and communicate any specific instructions or concerns to the installation team.
Installation typically takes one to three days, depending on the complexity and size of the system. Once complete, the technicians will test the system to ensure it operates efficiently.
Final Steps and Maintenance
After installation, you may need to wait for a utility inspection before your system can be activated. This ensures everything complies with local codes and regulations. Once activated, monitor your system’s performance regularly to ensure it functions optimally.
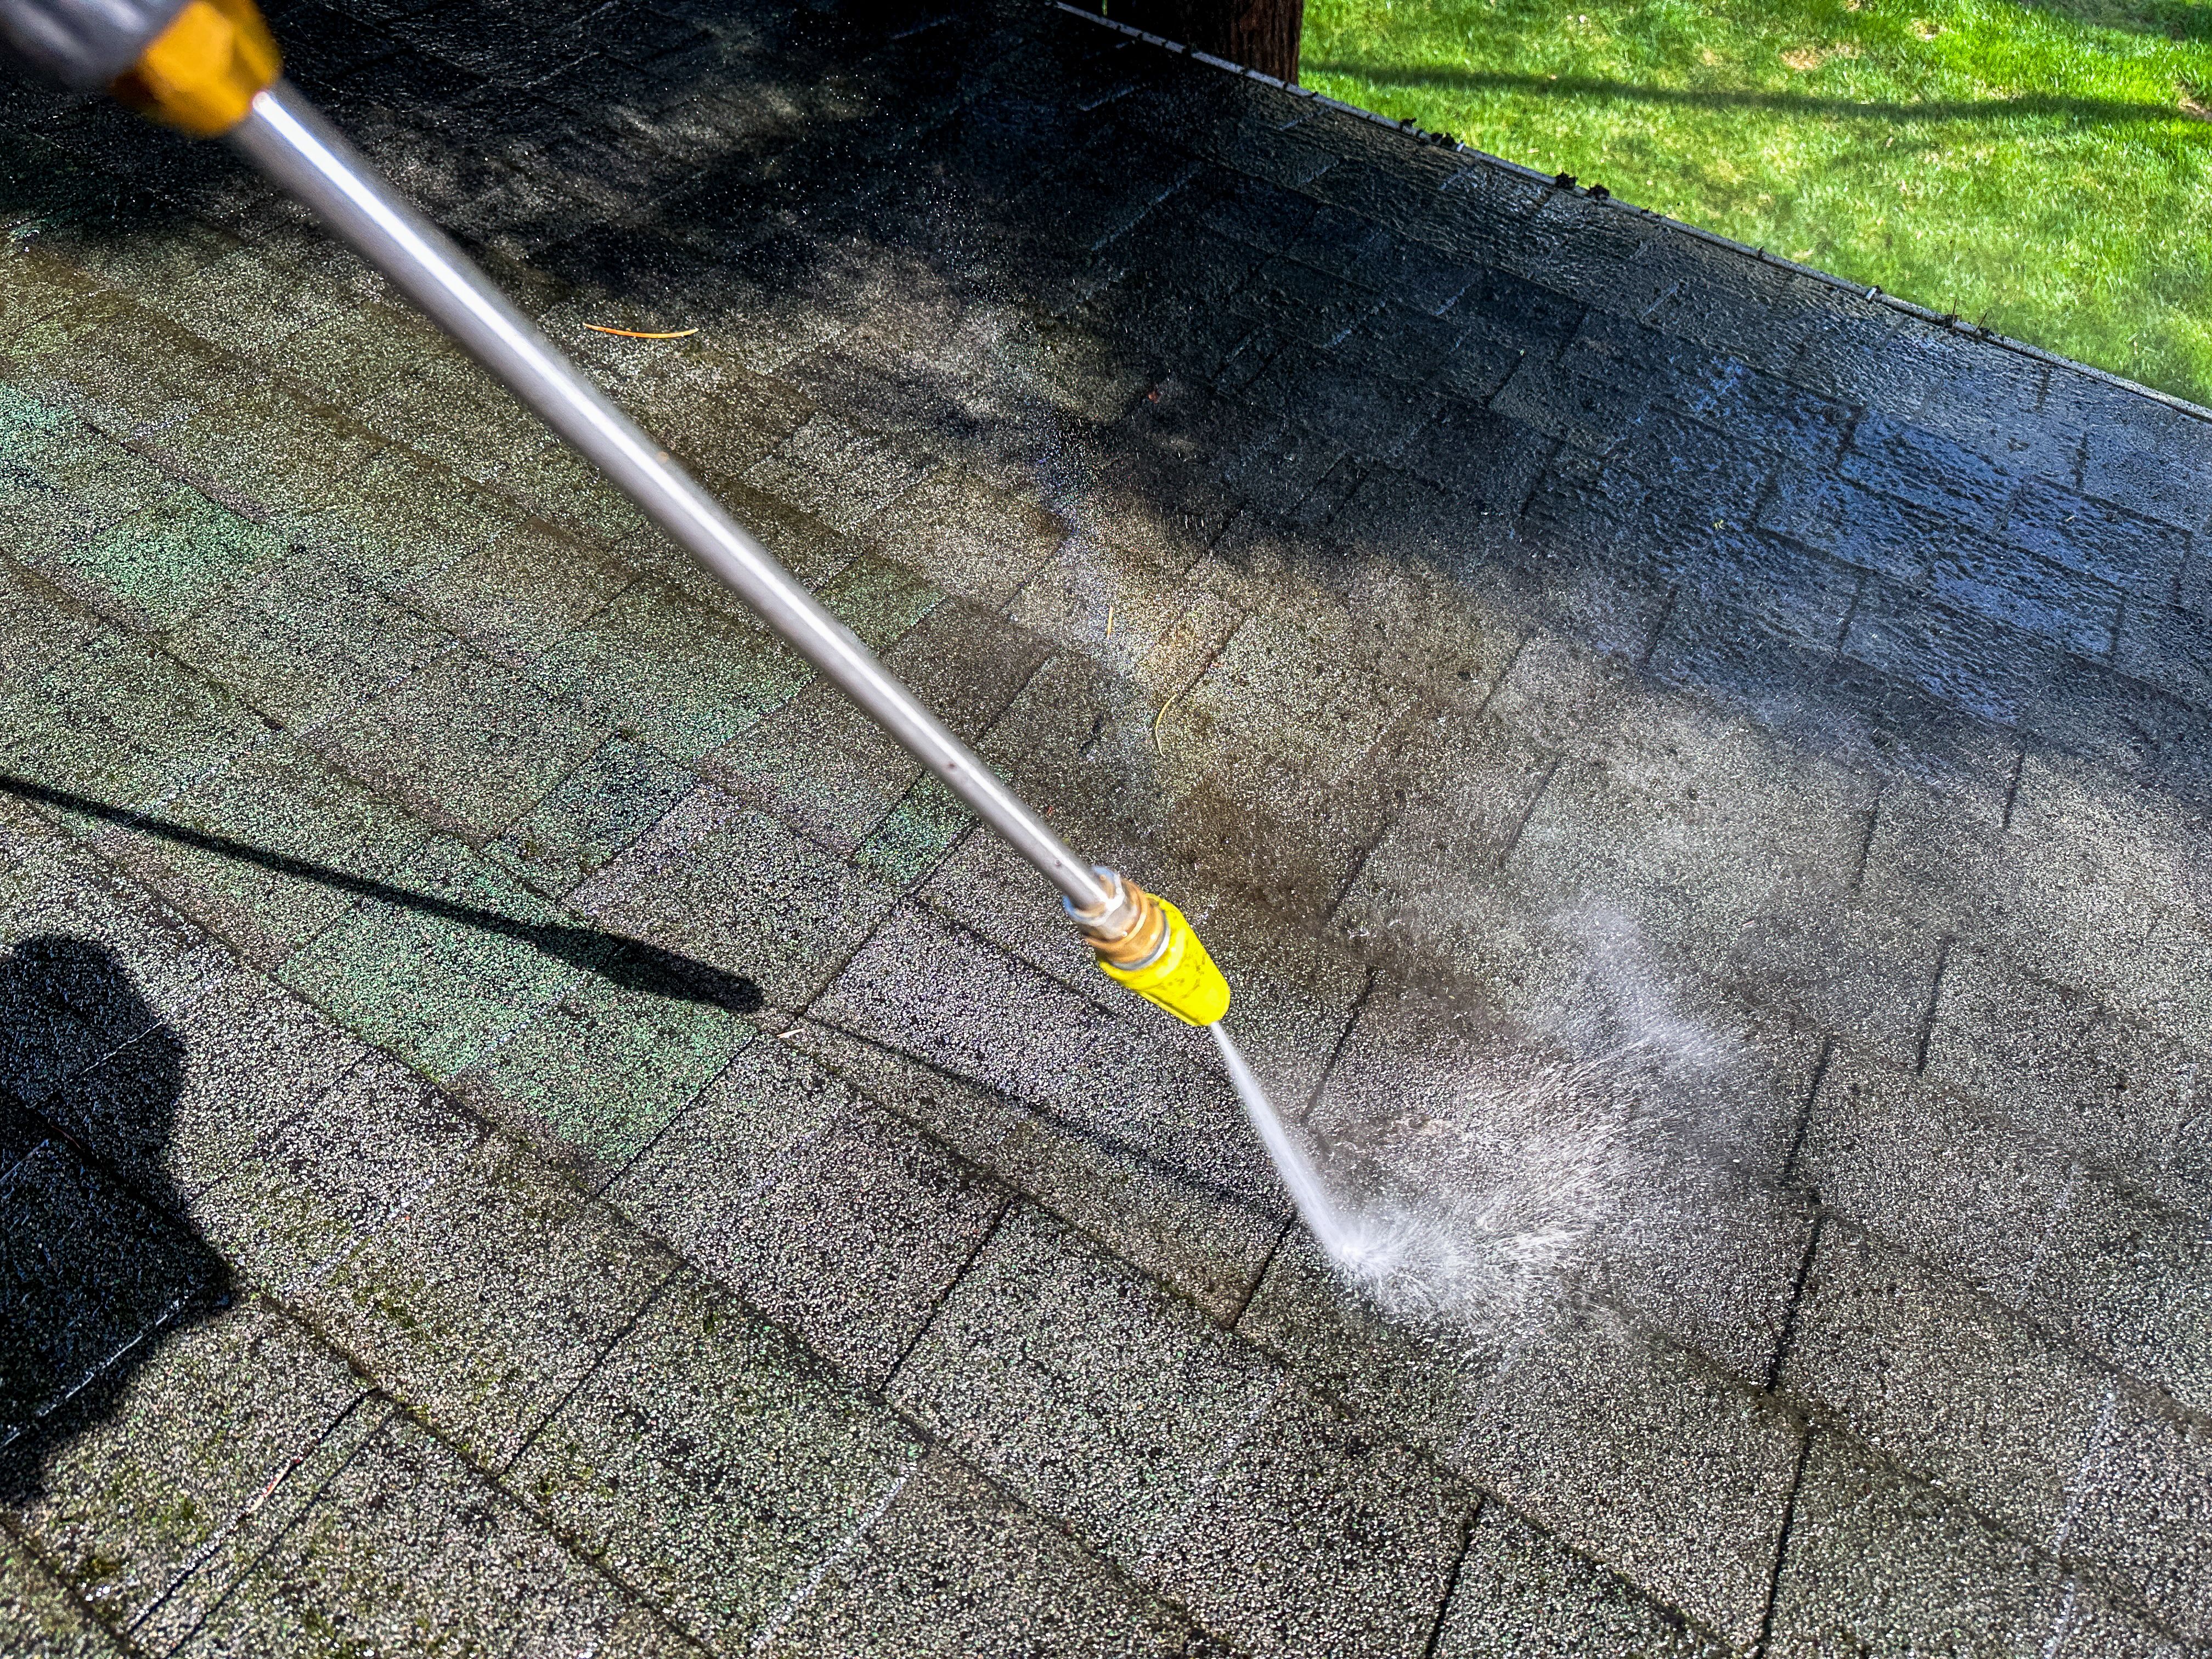
Routine maintenance, such as cleaning the panels and checking for obstructions, will keep your system running efficiently. Most solar systems require minimal upkeep, but addressing any issues promptly can maximize their lifespan and efficiency.